Difficulty
Very Easy
How and when to replace your rear derailleur jockey wheels
Fresh jockey wheels can reduce drivetrain resistance
Tom Hallam-Gravells
Online Production Editor
.png?w=600&auto=format)

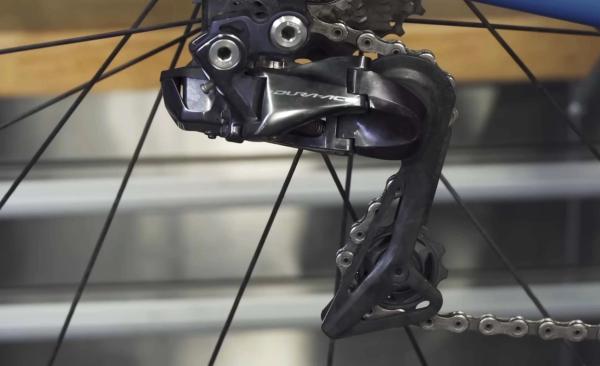
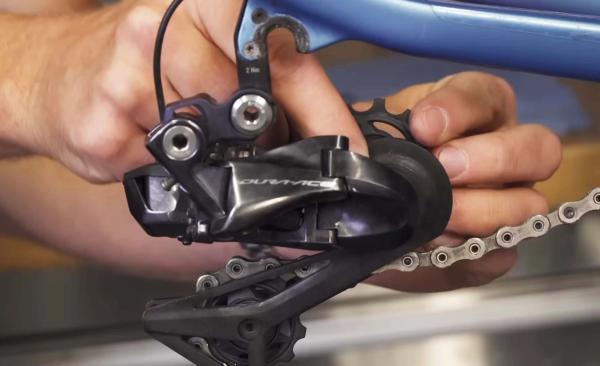
Jockey wheels are the small cogs that guide your chain around the rear derailleur. Like most moving components on a bike, jockey wheels wear over time. Having worn jockey wheels isn't the end of the world, but it can increase the friction in your drivetrain, which will do you no favours on tough rides out on the road.
Here is our guide for identifying whether your jockey wheels need replacing, and how to replace them if the time has come. For this guide, we've used a Shimano Dura Ace rear mech, but the steps are broadly the same for most manufacturers.
Read more: Silca CEO shares his secrets on the best ways to wax your chain
Tools Needed
Step 1
When to replace a jockey wheel
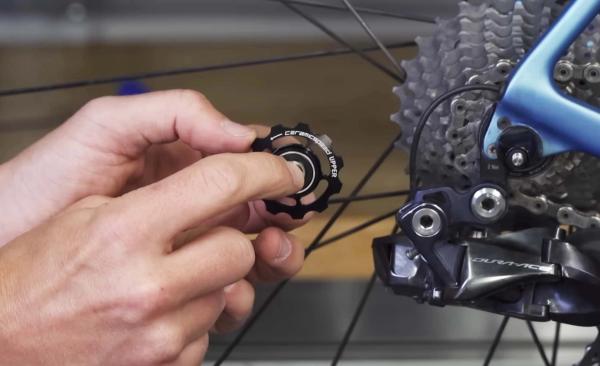
Firstly, do a visual inspection. If they look misshapen or the teeth are pointed like a shark’s tooth, then they need replacing.
Some jockey wheels have sealed bearings. You can check to see if the bearings are on their way out by removing the rear wheel and spinning the jockey wheels freely by hand. If they feel rough or you encounter any resistance, then it’s best to replace them.
Some jockey wheels have bushings rather than bearings, though. These bushings can be removed, cleaned and re-greased to get them running smoothly again, so you might not necessarily need to replace them.
If you've found your jockey wheels need replacing or regreasing, here are the steps to getting them off and on your bike:
Step 2
Identify which is which
There are two jockey wheels on a bike commonly referred to as upper and lower, guide and tension, or G and T. They are usually designed for one of these positions and can’t be used interchangeably, so make sure you attach the replacement ones in the correct position. To help, they are normally marked.
It’s easier to replace them one at a time so you don’t fit the upper one in the lower position or vice-versa.
Step 3
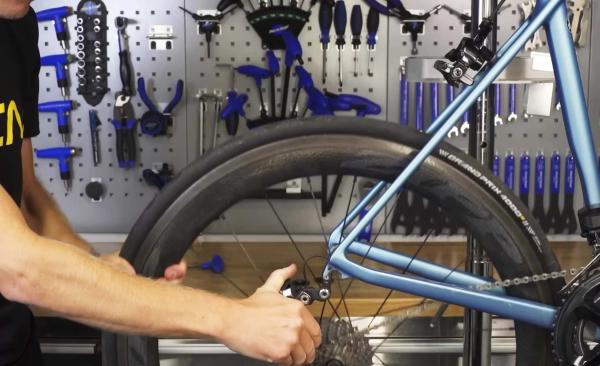
Put your bike in a stand and remove the rear wheel
Put your bike in a stand so you can access the rear mech easily, then remove the rear wheel.
Step 4
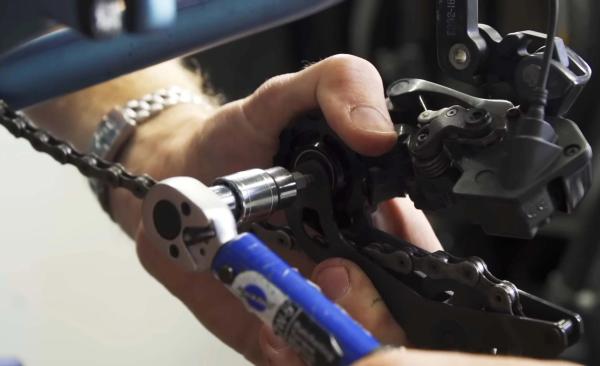
Remove the upper (guide) jockey wheel
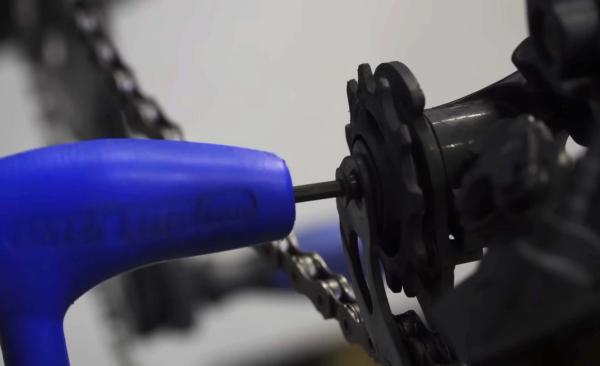
Start by removing the upper (guide) jockey wheel. Hold the rear derailleur cage then undo the bolt. In most cases, you’ll need a 3mm Allen key. Once loose, remove the bolt and jockey wheel, and place them to one side.
Step 5
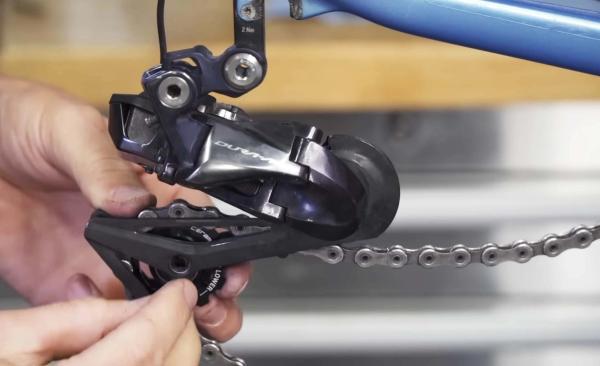
Put the new upper (guide) jockey wheel in position
Place the new jockey wheel in place, making sure it is orientated correctly as they are directional. The writing on the face is usually visible on the drive side and there may be an arrow to show you the direction of movement.
Working out which direction your jockey wheel will turn whilst pedalling can be confusing as the chain wraps around each jockey wheel, so pay careful attention to this.
Step 6
Bolt it in place
Apply either a spot of grease or thread-lock (whichever is recommended by your derailleur manufacturer) to the bolt, then insert and tighten it up to the recommended torque limit.

Step 7
Remove the lower jockey wheel
Next up, it’s time to replace the lower jockey wheel, also known as the tension pulley.
Following the same process as before, remove the jockey wheel by loosening the bolt. Before you fit its replacement, take this opportunity to thoroughly clean and degrease the derailleur.
Step 8
Fit the lower jockey wheel
Finally, slot the new jockey wheel in place, making sure it is orientated correctly. Then apply grease or thread-lock to the bolt before inserting it and tightening it to the recommended level of torque.
.jpg?w=600&auto=format)
Related Content

20-minute HIIT indoor cycling workout with Manon Lloyd
A high-intensity sprint session for building power and burning calories

20-minute spin workout: Short, sharp HIIT efforts with Conor Dunne
Follow Conor Dunne on this quick but intense HIIT indoor cycling workout. Perfect for building sprint power and burning calories

How to remove the rear wheel from your bike
Knowing how to remove and replace your wheel is useful for repairing mechanicals, cleaning or transporting your bike
Cadence drills to improve pedalling efficiency: 25-minute indoor cycling workout
This session rotates between spinning and grinding cadences, helping to activate different muscles